What Voids a Car Warranty? What Every Car Owner in Miami Should Know
Many car owners in Miami worry about accidentally voiding their vehicle warranty. From aftermarket modifications to skipped maintenance, misinformation can lead to costly mistakes. Understanding what voids a car warranty — and what does not — can help you protect your coverage and avoid unnecessary repair expenses.
In this guide, we’ll break down the most common situations where a car’s warranty may become void, clarify legal protections, and explain how Miami drivers can stay covered.

What Does “Voiding a Car Warranty” Really Mean?
A car warranty is a contract between you and the manufacturer that covers certain repairs for a specific period or mileage. Contrary to popular belief, a car warranty is rarely voided entirely.
Instead, coverage may be denied for specific repairs if the manufacturer can prove that your actions directly caused the problem.
Key entity: Magnuson-Moss Warranty Act (U.S.)
Under U.S. federal law, manufacturers cannot void your entire warranty simply because you modified or repaired your vehicle.
What Voids a Warranty on a Car? Common Scenarios
1. Skipping Required Maintenance
Failing to follow the manufacturer’s maintenance schedule is one of the most common reasons for denied warranty claims.
Examples:
- Missing oil changes
- Ignoring scheduled inspections
- Not replacing fluids on time
In Miami’s hot and humid climate, neglecting maintenance can accelerate wear, making this especially important.
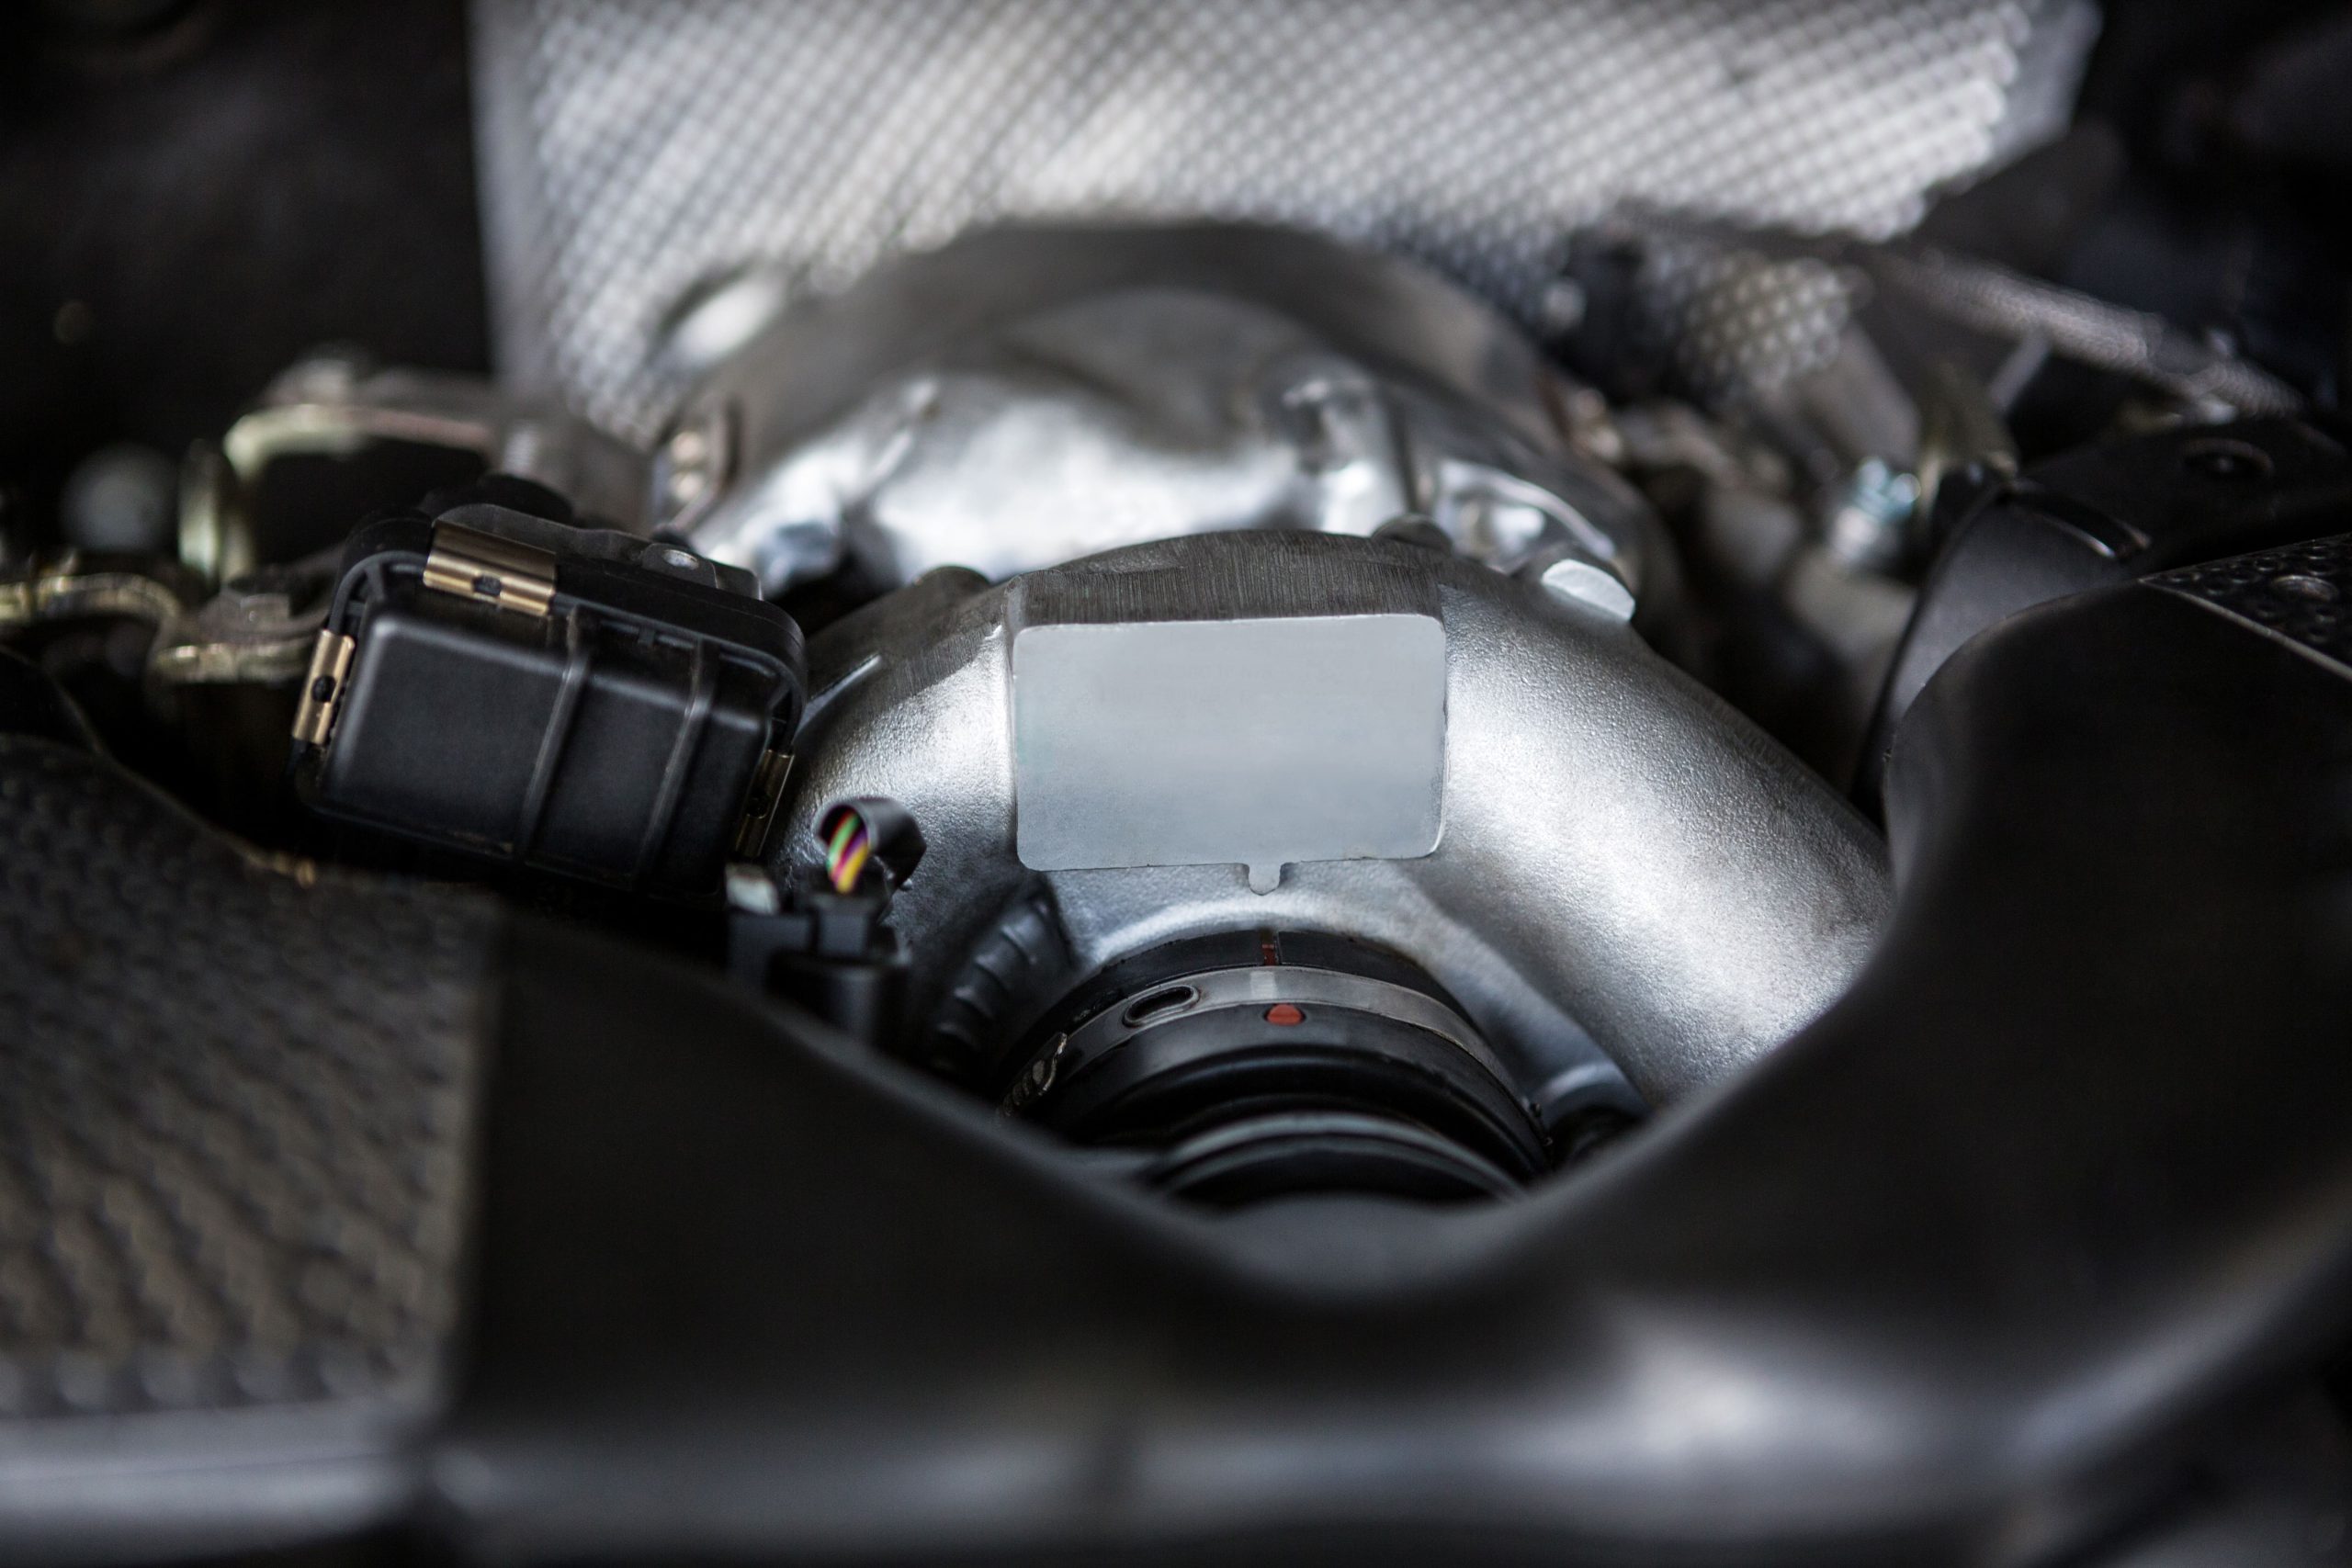
2. Using Incorrect or Low-Quality Fluids
Using oil, coolant, or transmission fluid that doesn’t meet manufacturer specifications can cause engine or system damage.
If a failure occurs and improper fluids are found, the warranty claim may be denied.
3. Aftermarket Modifications That Cause Damage
Installing aftermarket parts does not automatically void your car warranty. However, coverage may be denied if the modification caused the issue.
Examples include:
- Engine tuning or ECU remapping
- Non-approved suspension modifications
- Aftermarket exhaust systems affecting emissions
If the modification is unrelated to the repair, coverage should still apply.
4. Improper Repairs or DIY Work
Repairs done incorrectly — whether by an unqualified shop or through DIY work — can void warranty coverage for the affected components.
This is especially relevant for:
- Engine repairs
- Electrical systems
- Transmission work
5. Accident Damage or Environmental Damage
Warranty coverage does not apply to damage caused by:
- Accidents
- Flooding (a risk in South Florida)
- Storm damage or vandalism
These situations fall under insurance, not warranty protection.
What Does NOT Void a Car Warranty?
Many Miami drivers avoid upgrades or repairs unnecessarily. Here’s what typically does not void a warranty:
- Routine maintenance at independent repair shops
- Using aftermarket parts that meet OEM standards
- Cosmetic modifications (wheels, tint, interior upgrades)
- Repairs unrelated to a modification
Manufacturers must prove causation, not assumption.
How to Protect Your Car Warranty in Miami, FL
To stay protected:
- Keep detailed service records and receipts
- Follow the recommended maintenance schedule
- Use certified repair shops
- Ask for documentation when installing aftermarket parts
These steps are especially important if you plan to resell your vehicle or trade it in later.
Frequently Asked Questions About Car Warranty Void Issues
Can a dealership void my entire car warranty?
No. Under U.S. law, dealerships cannot void your entire warranty without proof that your actions caused the failure.
Does installing aftermarket parts automatically void coverage?
No. Only the affected part may lose coverage if the modification caused the issue.
Is regular maintenance required to keep a warranty valid?
Yes. Failure to maintain your vehicle properly is a common reason warranty claims are denied.
Final Thoughts
Understanding what voids a car warranty helps Miami drivers avoid unnecessary repair costs and protect their investment. When in doubt, document everything and ask questions before making changes to your vehicle.
Catalytic Converter Cage: Do They Really Work to Prevent Theft?
Catalytic converter theft has surged across the U.S., including Miami, FL. These components contain valuable metals like platinum and palladium, making them a prime target for thieves. Many drivers ask whether a catalytic converter cage or shield actually works.This guide explains catalytic converter theft prevention, how these devices work, and what Miami drivers should consider.
Why Is Catalytic Converter Theft So Common?
Catalytic converters are:
- Easy to access
- Quick to remove
- Valuable on the black market
Vehicles with higher ground clearance, such as SUVs and trucks, are especially vulnerable in urban areas.
How Many Catalytic Converters Are on a Car?
Most vehicles have:
- One catalytic converter (common in sedans)
- Two catalytic converters (some V6 or V8 engines)
- Multiple converters in larger or performance vehicles
Knowing how many catalytic converters are on your car helps you assess theft risk and protection needs.
What Is a Catalytic Converter Cage?
A catalytic converter cage is a welded metal structure designed to block access to the converter.
Common features include:
- Heavy-gauge steel construction
- Welded or bolted installation
- Coverage around exhaust components
Do Catalytic Converter Cages Work?
Yes — they work as a deterrent, not a guarantee.
Benefits:
- Increase theft time
- Create noise during removal
- Encourage thieves to move on
While no solution is 100% theft-proof, cages significantly reduce risk when combined with other methods.
Catalytic Converter Shield vs. Cage: What’s the Difference?
Catalytic Converter Shield
- Flat metal plate
- Bolted under the vehicle
- Easier installation
Catalytic Converter Cage
- Fully enclosed structure
- Often welded
- More durable but higher cost
Both are effective depending on vehicle type and exposure risk.
Additional Catalytic Converter Theft Prevention Tips
To further reduce risk in Miami:
- Park in well-lit or secure areas
- Install motion-sensitive car alarms
- Etch your VIN on the converter
- Use security cameras at home
Layered protection is the most effective approach.
Is Catalytic Converter Theft Covered by Insurance?
Typically:
- Covered under comprehensive insurance
- Not covered by standard warranties
Repair costs can exceed $1,000, making prevention crucial.
Is a Catalytic Converter Cage Worth It in Miami, FL?
Given the rise in theft across South Florida, a catalytic converter cage or shield is a smart investment — especially for vehicles frequently parked outdoors.
Final Thoughts
A catalytic converter cage is one of the most effective tools available for theft prevention. Combined with smart parking habits and security measures, it helps protect your vehicle and avoid expensive repairs.
How to Pass a Smog Check and Emissions Test
Many drivers worry about failing emissions tests, especially when warning lights appear. If you’re asking how to pass a smog check or what do I need to pass smog, this guide explains the process, common mistakes, and practical tips to pass emissions testing with confidence.

What Is a Smog Check and Why It Matters
A smog check, also known as an emissions test, measures how much pollution your vehicle produces. It ensures cars meet environmental standards set by the state. Smog tests help reduce air pollution and protect public health. Depending on where you live, these tests may be required annually or during vehicle registration renewal.
What Do I Need to Pass Smog?
To pass a smog test, your vehicle must have properly functioning emissions components such as the catalytic converter, oxygen sensors, and exhaust system. Your gas cap must seal correctly, and there should be no fluid leaks. Regular maintenance, including oil changes and air filter replacement, significantly improves your chances of passing.
How to Pass an Emissions Test
Before testing, drive your car for at least 15–20 minutes to warm up the engine. A warm engine burns fuel more efficiently and produces fewer emissions. Make sure tires are properly inflated and avoid testing immediately after disconnecting the battery, as this resets readiness monitors and can cause automatic failure.
Can I Pass Emissions with the Check Engine Light On?
In most cases, no. An illuminated check engine light usually results in an automatic failure, even if the car seems to run fine. The light indicates an issue with the emissions system that must be diagnosed and repaired before testing.
Common Reasons Smog Tests Fail
Smog tests often fail due to faulty oxygen sensors, worn spark plugs, vacuum leaks, or a failing catalytic converter. Ignoring minor issues can quickly turn into expensive repairs. Addressing warning signs early saves time, money, and stress during testing.
What Is a Car Registration Fee and How Much Does It Cost?
If you own a vehicle, you’ve probably wondered what is a car registration fee and why you have to pay it. In this guide, we explain what car registration pays for, how much it costs, whether it’s paid every year, and the cheapest state or place to register a car.
What Is a Car Registration Fee?
A car registration fee is a mandatory payment required by state governments to legally operate a vehicle on public roads. When you register your car, the state issues license plates, registration stickers, and official records that link the vehicle to its owner. The exact amount varies depending on the state, vehicle type, weight, age, and sometimes emissions standards. Without valid registration, driving your car can result in fines, penalties, or even impoundment.
What Does Car Registration Pay For?
Car registration fees help fund essential public services. These include road maintenance, highway construction, bridge repairs, and transportation infrastructure. In some states, registration fees also support environmental programs, public safety, and emissions monitoring. Essentially, registration ensures that drivers contribute to maintaining the roads they use daily.
How Much Is It to Register a Car?
The cost to register a car can range from as little as $20 to several hundred dollars. Factors that affect the price include vehicle value, model year, fuel type, and local taxes. Luxury vehicles and newer cars typically cost more to register. Some states also charge additional fees for specialty plates or environmental programs.
Do You Have to Pay Registration Fees Every Year?
In most states, yes. Vehicle registration must be renewed annually or biannually. Renewal fees are usually lower than first-time registration but still depend on the same factors. Failing to renew on time can lead to late fees or legal issues.
Cheapest State and Place to Register a Car
States like Montana, South Dakota, and New Hampshire are often cited as the cheapest place to register a car due to low fees and taxes. However, residency requirements apply, and registering a car out of state without proper residence can be illegal. Always follow state laws when choosing where to register your vehicle.
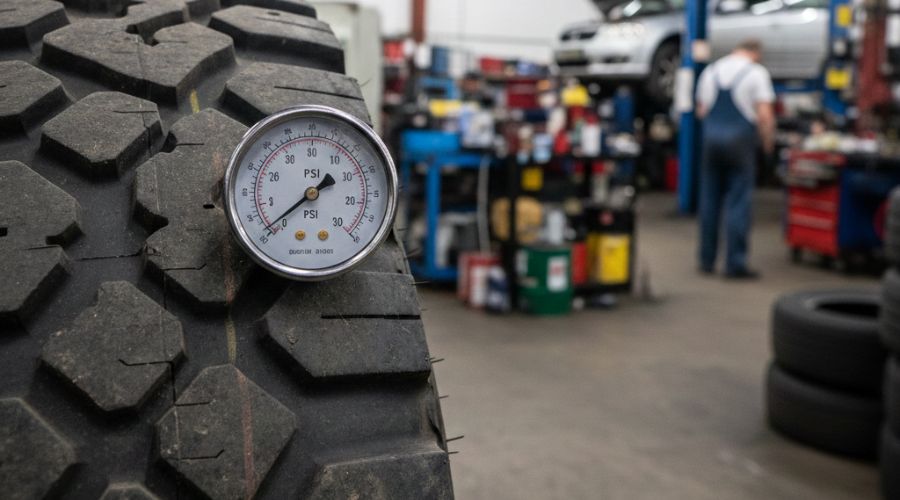
Recommended Tire Pressure: What PSI Should Your Tires Have?
Using the recommended tire pressure keeps braking distances short, steering precise, and fuel economy stable. The correct value is set by your vehicle manufacturer and printed on the driver’s door-jamb label and in the owner’s manual. This guide explains what cold tire pressure is, how to measure car tire air pressure accurately, typical PSI ranges by vehicle type, and how to avoid the most common tire inflation mistakes.
What “cold tire pressure” means and why it matters
Cold tire pressure refers to the reading taken when the car has been parked for at least three hours and the tires are at ambient temperature. Heat from driving causes air to expand, so a hot reading can be 2–6 PSI higher than the true baseline.
Key points:
- Always set recommended tire pressure when tires are cold.
- Expect roughly ~1 PSI change for every 10°F swing in temperature.
- In warm climates like Miami, check early in the morning for the most accurate baseline.
How to find the right tire pressure for your vehicle
Your right tire pressure is specific to your car, tire size, and load. Do not use the number molded on the tire sidewall for daily driving. That figure is the tire’s maximum pressure rating, not the vehicle’s specification.
Check these sources:
- Door-jamb placard: Driver’s side, shows front and rear targets in PSI and sometimes kPa.
- Owner’s manual: Confirms the same values and may list a second set for heavy loads.
- Fuel filler door (some models): Duplicate of the placard.
If your vehicle lists different front and rear values, match them respectively. If there is a “fully loaded” line, use it only when carrying passengers and cargo as described.
How to read tire pressure on tire vs. vehicle placard
- Tire sidewall: Construction details, load index, speed rating, and MAX PSI. Helpful for understanding limits, not for setting everyday regular tire pressure.
- Vehicle placard/manual: The authoritative recommended tire pressure for real-world use.
Step-by-step: check and inflate car tire air pressure correctly
- Park and cool: Wait ≥3 hours or measure first thing in the morning.
- Use a quality gauge: Digital or dial; avoid gas-station sticks that are often inaccurate.
- Remove the valve-cap and press the gauge straight onto the valve stem. Listen for minimal hiss.
- Compare to target: Use the placard PSI as your goal for each axle.
- Inflate in short bursts: Add air, remove the hose, recheck. Small steps prevent overshoot.
- If you overshoot, press the valve core briefly to bleed air, then remeasure.
- Repeat for all four tires and check the spare if equipped.
- Reinstall valve-caps to keep dirt and moisture out of the valve.
Tips for accuracy:
- Measure on a flat surface.
- If you drove more than two miles, the reading is hot. Subtract 2–3 PSI or wait until tires cool to reset.
- After tire rotations or seasonal changes, recheck pressures.
Normal PSI for tires: typical ranges and when to adjust
Typical normal PSI for tires (cold):
- Compact cars and sedans: ~30–35 PSI
- Crossovers and small SUVs: ~32–36 PSI
- Light pickups: ~35–40 PSI depending on load and spec
These are guidelines only. Always prioritize the vehicle placard. Situations that require adjustment:
- Heavy loads or towing: Many vehicles list a higher PSI for the rear tires. Follow the “full load” line if provided.
- Large temperature swings: A cold front can drop morning PSI. Re-adjust to target in the morning.
- After tire service: New tires, repairs, or rotations may change required PSI or trigger the TPMS.
Warning signs of incorrect wheel pressure
- TPMS light on: One or more tires are significantly below target. Check with a gauge.
- Pulling, vibration, or vague steering: Uneven or low pressure can cause instability.
- Uneven tread wear: Low pressure wears shoulders; overinflation wears the center.
- Longer braking distances or poor wet grip: Underinflation increases heat, rolling resistance, and hydroplaning risk.
If the TPMS light returns soon after inflation, inspect the valve core and cap, the bead area, or the tread for nails or punctures. Seek a professional inspection if pressure keeps dropping.
Tire inflation mistakes to avoid
- Using sidewall numbers as the set point for daily driving.
- Bleeding air in the rain thinking more contact equals more grip. Underinflation reduces wet traction.
- Ignoring the spare: A flat spare defeats roadside plans.
- Skipping monthly checks: Air permeation is normal; small losses add up.
Maintenance cadence that works
- Check car tire air pressure monthly and before road trips.
- Inspect visually each week for cuts, bulges, or embedded objects.
- Recheck after big temperature changes, load changes, or TPMS alerts.
FAQs
1) What is cold tire pressure?
It is the automobile tire pressure measured after the vehicle has been parked for at least three hours, before driving heats the tires. This baseline is used to set the recommended tire pressure.
2) Does recommended tire pressure change in hot weather like Miami?
Set pressure in the early morning when tires are cold. Daytime heat raises readings, but you do not “deflate for heat.” Keep the placard PSI as your target.
3) What is the normal PSI for tires?
Most passenger cars fall between 30–35 PSI cold, but always follow the vehicle placard for the right tire pressure on your model.
4) Is it safe to use the number printed on the tire sidewall?
No. That number is a maximum rating for the tire. Daily regular tire pressure comes from the vehicle placard.
5) How often should I check car tire air pressure?
Check monthly, before long drives, and whenever the TPMS light appears. Recheck after temperature swings.
6) Why did my TPMS light turn on after inflating?
The system may need a short drive to re-read. If it stays on, a tire may still be low, or there may be a slow leak or sensor issue.
7) How to read tire pressure on tire?
Use a gauge on the valve stem to read PSI. Use the sidewall only to learn size and limits, not to set your target PSI.
Jumper Cables Red and Black: Positive and Negative Explained
Knowing how to use jumper cables red and black correctly can save you in an emergency. Many drivers confuse positive and negative clamps, leading to mistakes. This guide explains how to connect jumper cables safely, which clamp goes where, and how to restart your car battery with confidence.

Why Jumper Cables Are Essential
Dead batteries are one of the most common car problems. Having a set of jumper cables in your trunk means you can quickly restart your vehicle or help another driver. Without them, you may need to wait for roadside assistance, which takes time and can leave you stranded.
Understanding Red and Black Jumper Cables
The red clamp always connects to the positive (+) battery terminal, while the black clamp connects to the negative (–) terminal or a safe ground point. Mixing them up can cause sparks, damage your car’s electrical system, or even result in injury. Color coding is designed to keep things simple.
Step-by-Step Guide to Using Jumper Cables
- Park the working car close enough to reach both batteries.
- Turn off both vehicles and locate the terminals.
- Connect the red clamp to the dead battery’s positive terminal.
- Attach the other red clamp to the good battery’s positive terminal.
- Connect the black clamp to the good battery’s negative terminal.
- Place the final black clamp on a metal surface (ground) away from the dead battery.
- Start the working car, then the dead one. Remove clamps in reverse order.
Safety Tips When Jump Starting
Never let clamps touch each other while connected. Avoid jump-starting if the battery is leaking or cracked. Always wear gloves and eye protection. Once your car starts, let the engine run for at least 15 minutes to recharge the battery before driving.
Alternatives to Jumper Cables
Portable jump starters are a safe and convenient option. They eliminate the need for another vehicle and work with a rechargeable power pack. For drivers who travel often or live in remote areas, investing in a jump starter can be more reliable than traditional jumper cables.
What Does ADAS Stand For? Meaning and Features List
Modern vehicles often highlight ADAS features, but what does ADAS stand for? ADAS means Advanced Driver Assistance Systems, a group of technologies designed to keep drivers safe. In this guide, we’ll explain the meaning of ADAS in automotive, outline the most common ADAS features list, and show why it matters.

What Does ADAS Mean in Automotive?
ADAS stands for Advanced Driver Assistance Systems. These are electronic technologies that use sensors, cameras, and software to support the driver. The goal is to reduce human error, prevent accidents, and make driving more comfortable. Automakers continue to expand ADAS features as vehicles become more connected and autonomous.
Why ADAS Features Are Important
ADAS features help prevent crashes by alerting drivers or automatically correcting dangerous movements. For example, automatic emergency braking can stop the car before a collision, while lane-keeping assistance prevents drifting. These systems not only improve safety but also increase vehicle value and appeal for modern buyers.
ADAS Features List Explained
Common ADAS features include adaptive cruise control, blind-spot monitoring, lane departure warning, forward collision warning, and parking assistance. More advanced systems include traffic sign recognition, cross-traffic alert, and driver monitoring. Each feature plays a role in reducing risks and giving drivers better control in different driving conditions.
How ADAS Systems Work Together
Many ADAS technologies are designed to complement one another. For instance, adaptive cruise control works with lane-centering assistance to create semi-autonomous driving on highways. This integration improves safety and prepares the industry for future autonomous vehicles.
The Future of ADAS in Vehicles
The next generation of ADAS will rely on artificial intelligence and advanced mapping. Expect features that not only react to driver input but also predict and prevent hazards. As regulations evolve, more ADAS features will become standard, making safer driving accessible to all car owners.
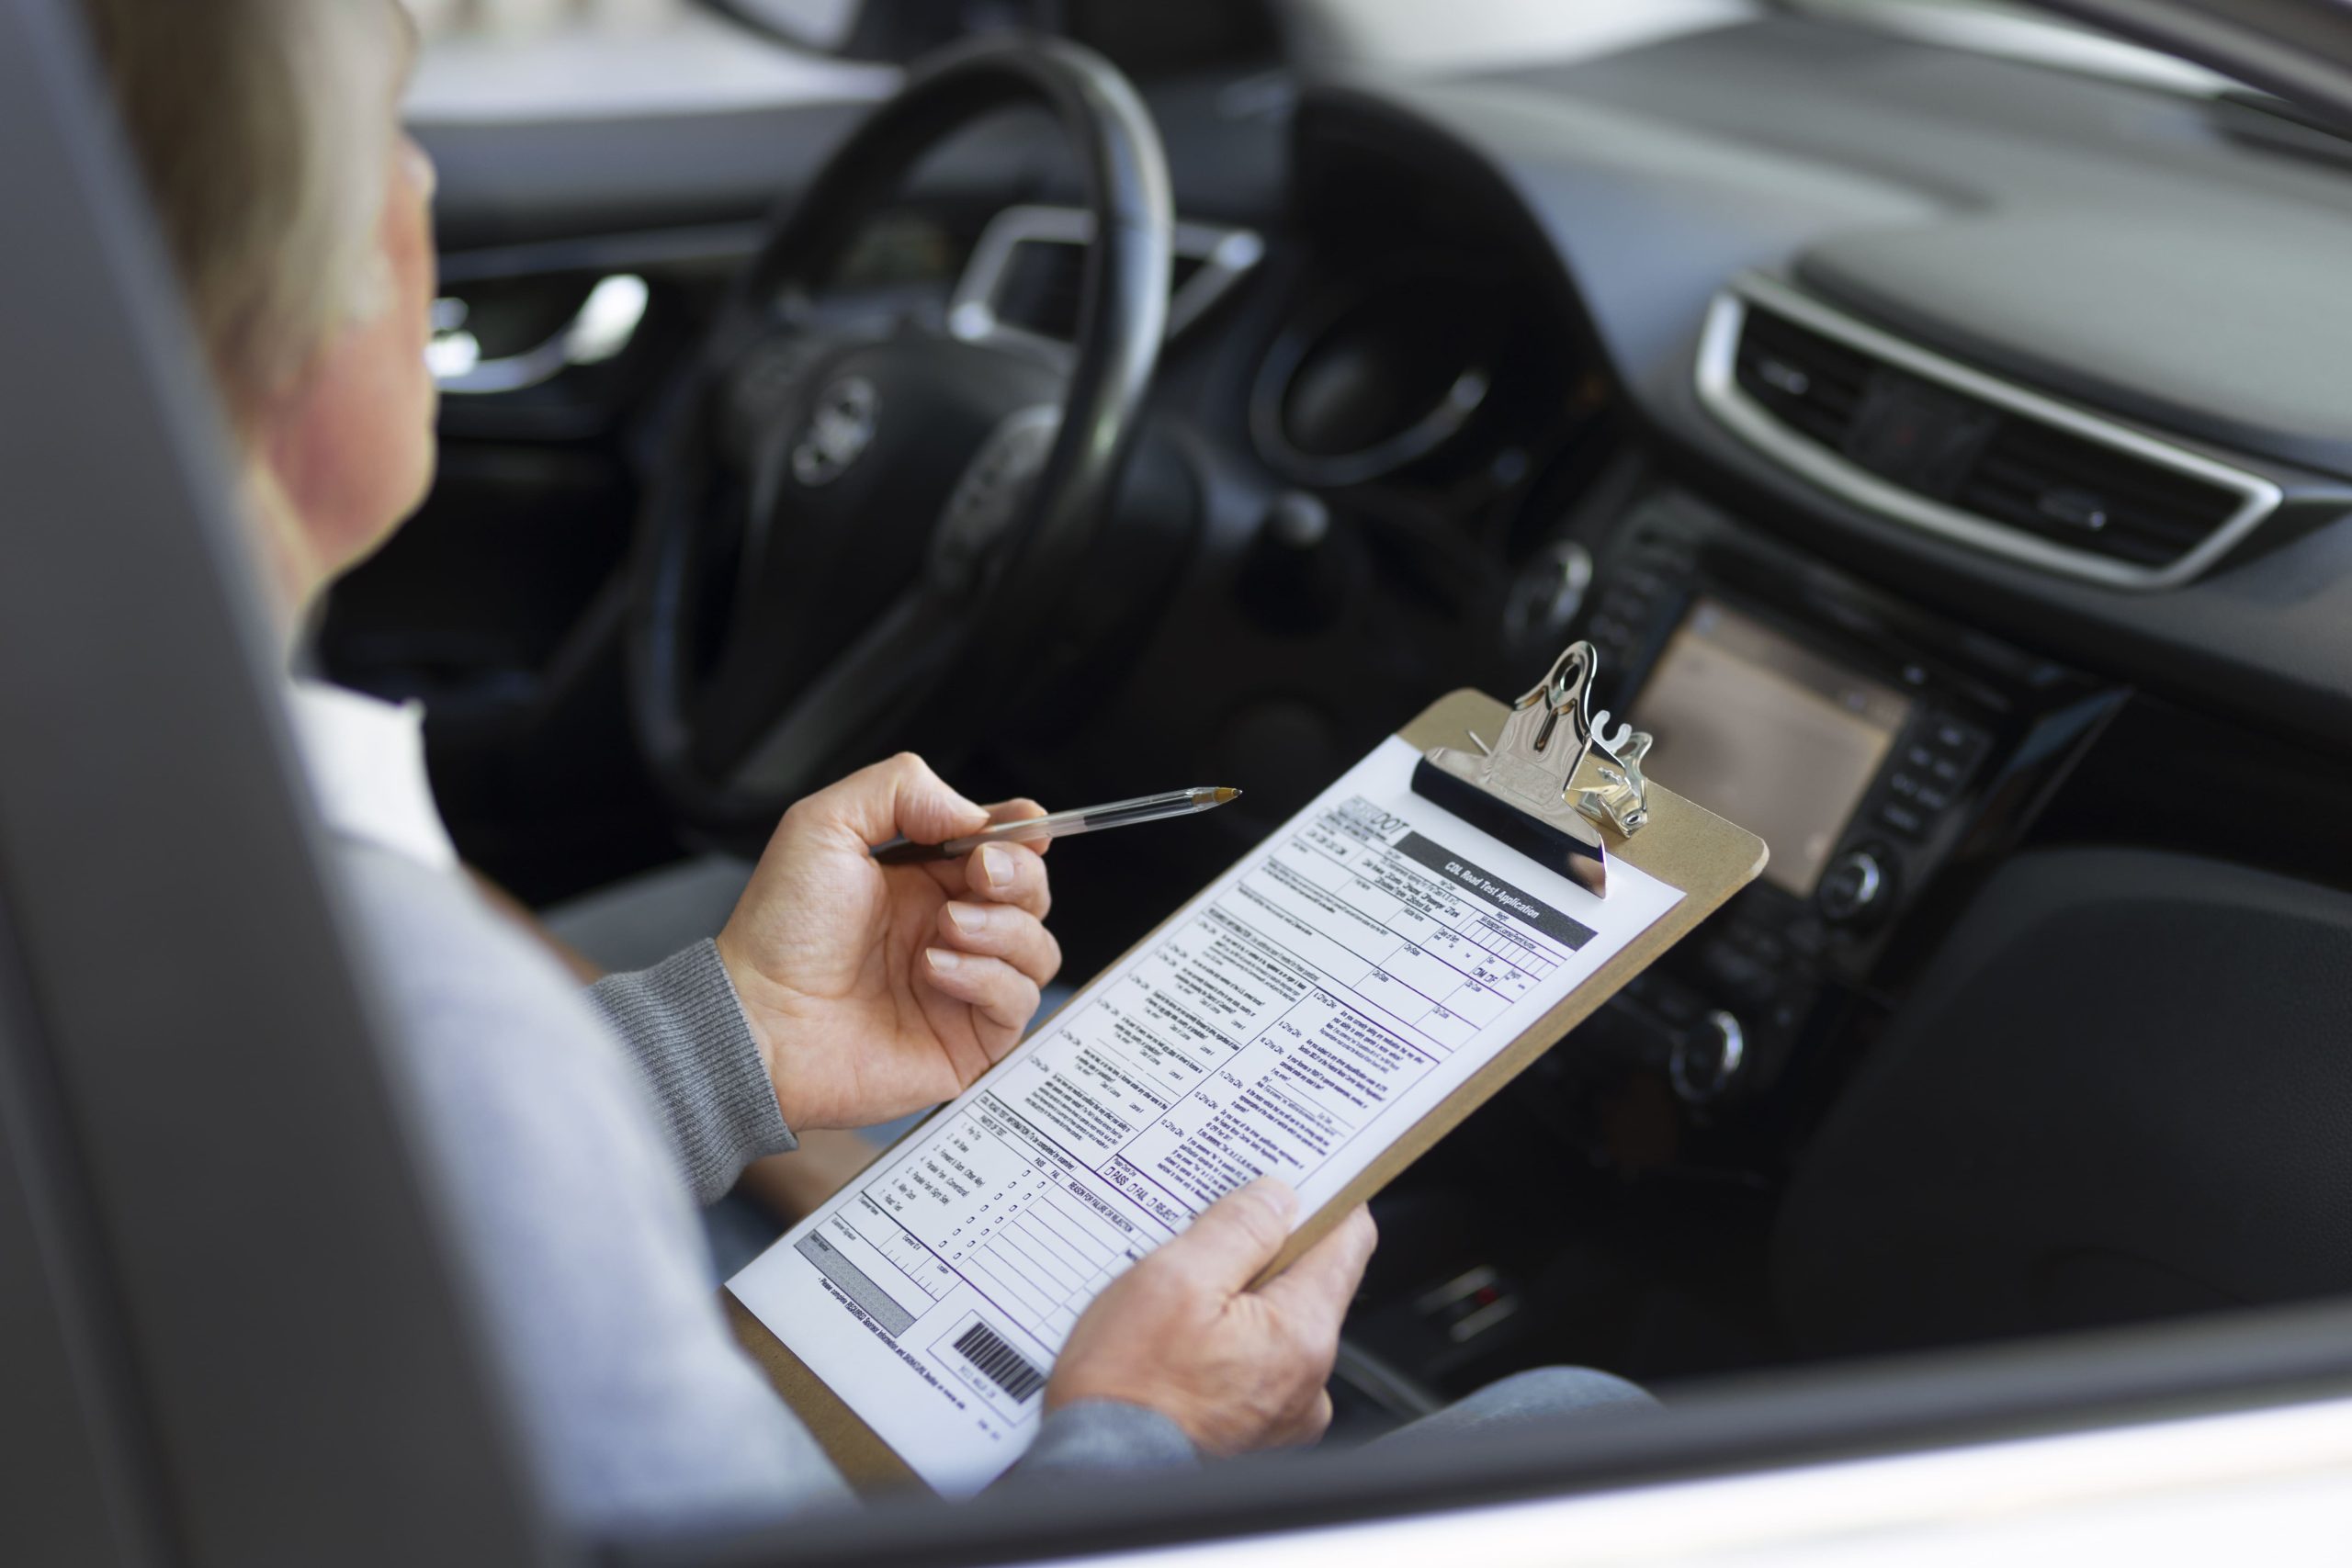
How Old Do You Have to Be to Test Drive a Car
Before visiting a dealership, many drivers wonder how old do you have to be to test drive a car? Age requirements and policies can vary. In this article, we’ll explain the minimum age, license rules, and how long you can test drive a car so you’re fully prepared.

Minimum Age to Test Drive a Car
Most dealerships require drivers to be at least 18 years old with a valid driver’s license. Some may set the minimum age at 21, especially for high-value or performance vehicles. Always check in advance since age rules depend on dealership policy and insurance coverage.
What Documents Do You Need?
To test drive a car, you’ll usually need a valid driver’s license and sometimes proof of insurance. The salesperson may take a photocopy of your license before handing you the keys. Bringing these documents speeds up the process and ensures you’re approved to drive right away.
How Long Can You Test Drive a Car?
Test drive length depends on the dealership. Some allow a short 10-minute drive around the block, while others let you take the car for 30 minutes or more. In special cases, dealerships may even offer overnight or extended test drives so buyers can experience the vehicle in daily life.
Tips to Maximize Your Test Drive
Plan a route that includes highways, city streets, and parking situations. Pay attention to visibility, braking, and comfort. Adjust seats, steering wheel, and mirrors before driving. Use the time to test features like infotainment, climate control, and driver assistance systems to make sure they meet your expectations.
Can Teens Test Drive with Parents?
If you’re under 18, you generally cannot test drive a car alone. However, some dealerships may allow teens with a learner’s permit to ride along while a parent drives. Always call ahead to confirm the dealership’s policy and avoid surprises.
How to Know Which Windshield Wipers to Buy
Choosing the right windshield wipers is essential for safe driving. If you’ve ever asked yourself what windshield wipers do I need? you’re not alone. In this guide, we’ll show you how to choose wiper blades that fit your car, improve visibility, and keep your windshield streak-free in all conditions.

Why Windshield Wipers Matter for Safety
Windshield wipers may look simple, but they are one of the most important safety features in any car. Properly working blades ensure you maintain visibility during rain, snow, and even heavy dust. When they wear out, they can cause streaks, squeaks, or missed spots that increase the risk of accidents. Regular inspection and timely replacement are crucial for driving safety.
How to Know Which Windshield Wipers to Buy
When shopping, the first step is checking your vehicle’s manual for the correct size. Cars often use different lengths for the driver and passenger sides. You’ll also need to confirm the connection type of the wiper arm to ensure compatibility. Many auto parts stores and online retailers let you enter your car’s make, model, and year to instantly see the right wipers.
How to Choose Wiper Blades That Last
Wiper blades come in three main types: conventional, beam, and hybrid. Conventional blades are affordable but wear out faster. Beam blades, made with a one-piece frame, apply even pressure and perform better in harsh weather. Hybrid blades combine both designs for durability and performance. Choosing high-quality rubber or silicone blades can extend their life and reduce noise.
Common Signs You Need New Wipers
It’s time to replace your wipers if you notice streaking, skipping, or squeaking during use. Cracks in the rubber or uneven wiping also signal that the blades are worn. Most experts recommend replacing them every 6 to 12 months, depending on your driving conditions and climate.
Extra Features Worth Considering
Some wipers include water-repelling coatings that help rain bead and slide off faster. Others are designed with aerodynamic shapes to reduce wind lift at high speeds. Winter wipers have protective covers that keep snow and ice from clogging the blades. While optional, these upgrades can significantly improve visibility and comfort when driving in extreme conditions.
